http://in.gredients.com/2012/06/01/how-to-make-mason-jar-lights/
Making mason jar lights is really, really easy!
Step 1: Find the right mason jar for your light

The size of your socket/desired lightbulb will determine the size of your jar. Normal lightbulbs, energy bulbs, Edison bulbs, etc fit best in quart-sized jars (32oz) at a minimum because they have room to breathe inside the jar (you don’t want the bulb to be close to/touching the glass due to heat issues). You can also use gallon jars (64oz) or even larger vessels, but there’s a point beyond 64oz where your lightbulb may look dwarfed, so let your aesthetic preference guide you. Smaller bulbs with small sockets may fit well into pint-sized jars (16oz), and if you’re stuffing Christmas lights into the jar, you can really choose whatever size you want!
Step 2: Gather your materials

For this project you’ll need:
- A mason jar (shock!)
- The socket you want to put the jar on (it’s okay if it’s on your wall or ceiling)
- A plastic or metal ring that fits your socket (to secure your jar lid to the socket)
- A nail or wood screw
- A pen, pencil, or marker
- A hammer
- Scissors
- Pliers
- A flat-tipped screwdriver
Step 3: Trace your socket

Trace the circumference of your socket on your jar lid. If your socket’s on a wall or ceiling, use the ring that’ll screw onto your socket to trace instead for easy tracing! You should have a circle like this one after tracing, matching the size of your socket:

Step 4: Punch holes in your lid

Use your hammer and nail or wood screw (or another similar object) to poke holes in the lid, along the circle.
Step 5: Add holes for venting
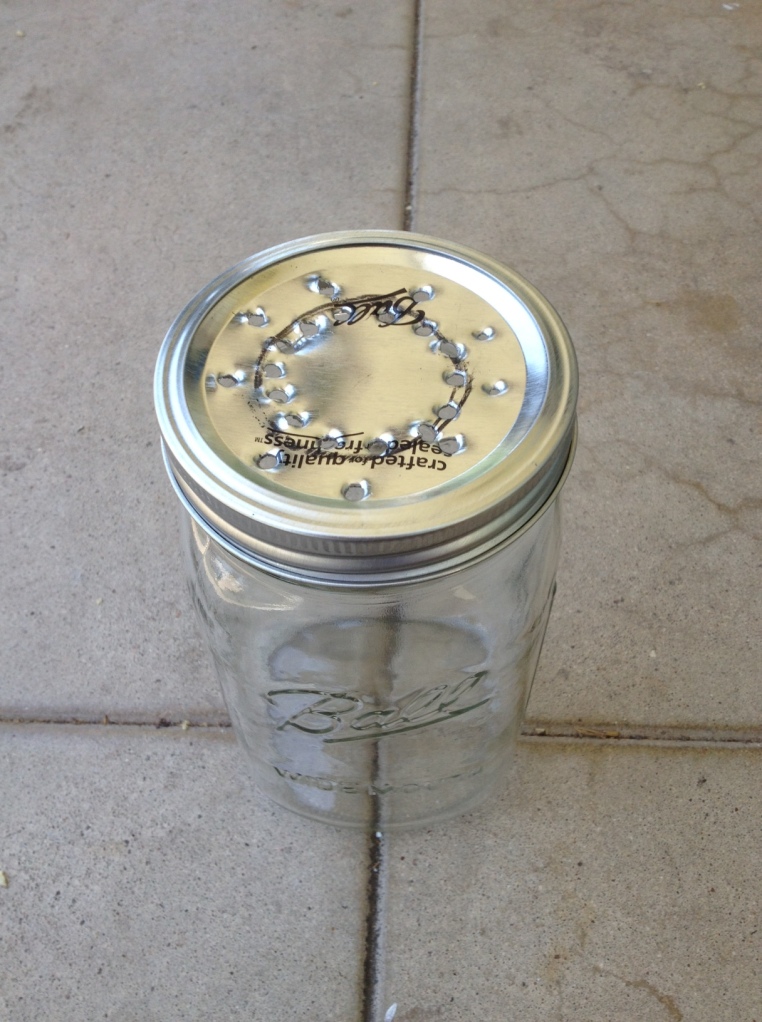
With your hammer and nail-like helper, poke additional holes around the center holes to allow heat to escape the jar. This is a critical step – without venting holes, you risk getting your jar too hot!
Step 6: Remove the center of the lid

Use your hammer and flat-tipped screwdriver to knock out what’s holding the center of your lid steady – the metal between your punch holes. Once you get 75% around the circle, you’ll probably run into the following dilemma:

This’ll require you to resort to other means of removing the center piece. Gloves are highly recommended for this, since the sharp edges of the lid can easily cut your fingers. How you remove this last bit is really up to you – you can rip it with your hands, rip it with pliers, or even use scissors to cut it off. Scissors are the most civilized option, demonstrated below:
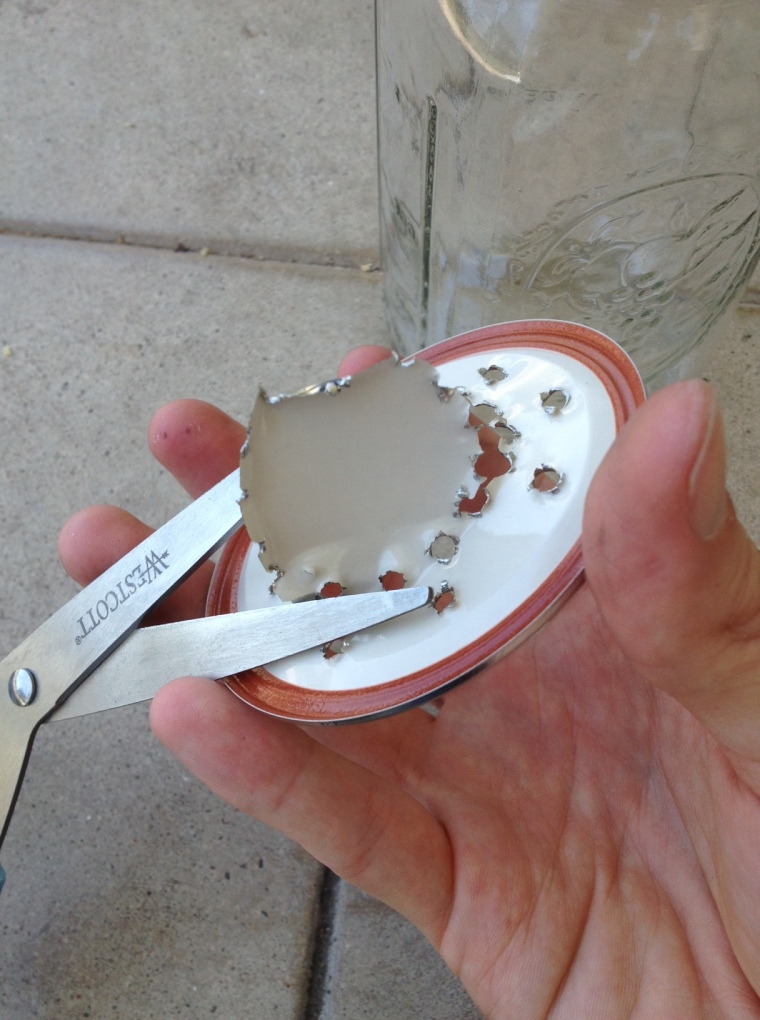

Step 7: Insert your socket
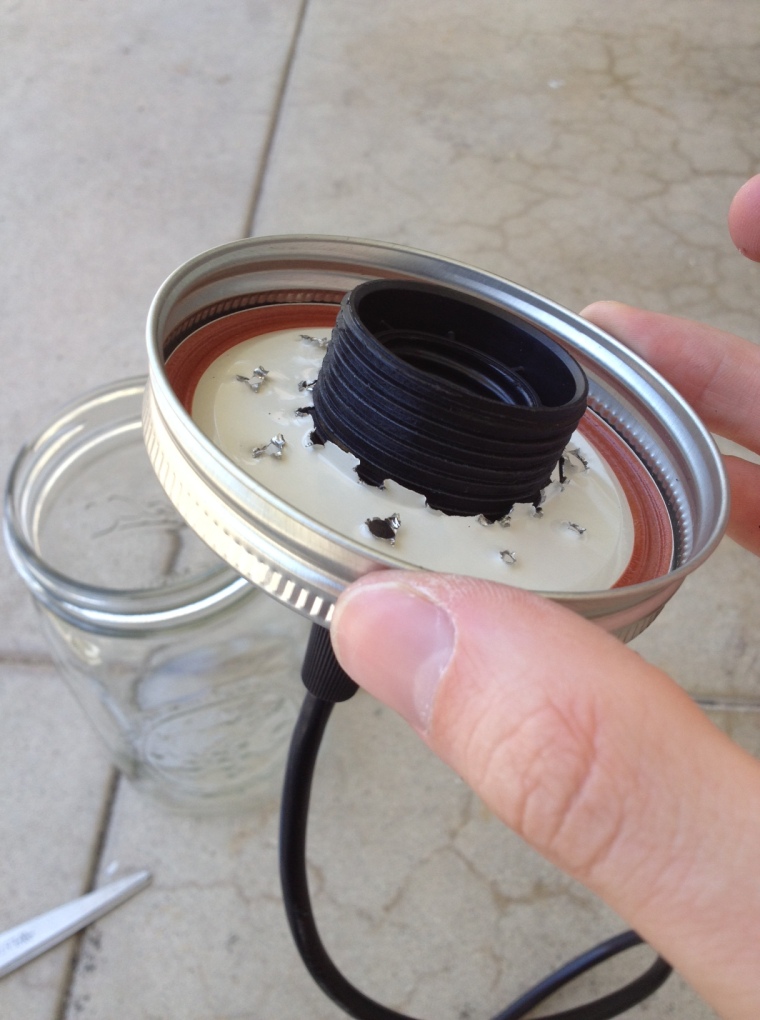
After putting the rim of your lid over the lid itself, go ahead and fit your socket through the lid. Hopefully, the circle you cut allows you to push the socket through with little difficulty – and allows the “teeth” of the lid (the sharp, pointy, deadly metal spikes) to grip the socket for some support.
If the socket doesn’t fit, don’t worry! That’s totally normal, and it’s why you have the pliers. Simply use the pliers to bend the metal back where you need to to get the socket to fit through.
If the socket fits through the circle without even touching the lid, that’s probably okay too, depending on the size of your socket ring (see next step).
Step 8: Attach your socket ring
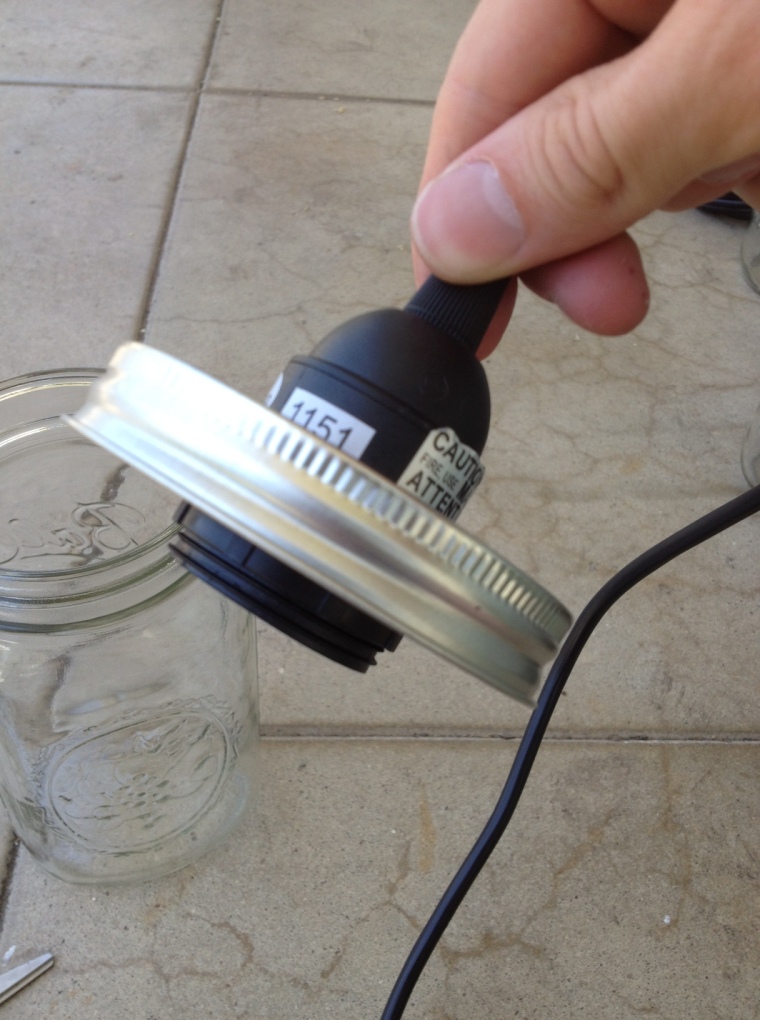
Go ahead and screw your socket ring onto your socket. The ring should hold your lid tightly to the socket. If your lid’s a little loose, that’s fine, if your mason jar’s going to be hanging (thanks, gravity!). If your jar’s not hanging, though, and instead coming off a wall, tightness will matter a lot more.
You can verify in this step how well the socket ring grips your lid. If your hole’s too wide, and the socket ring barely grips it or doesn’t grip it at all, you’ll need to use another lid and make a smaller hole. If your hole matched your socket diameter really closely, though, you probably won’t have anything to worry about.
Step 9: Add your lightbulb

Easy enough…
Step 10: Add your jar!
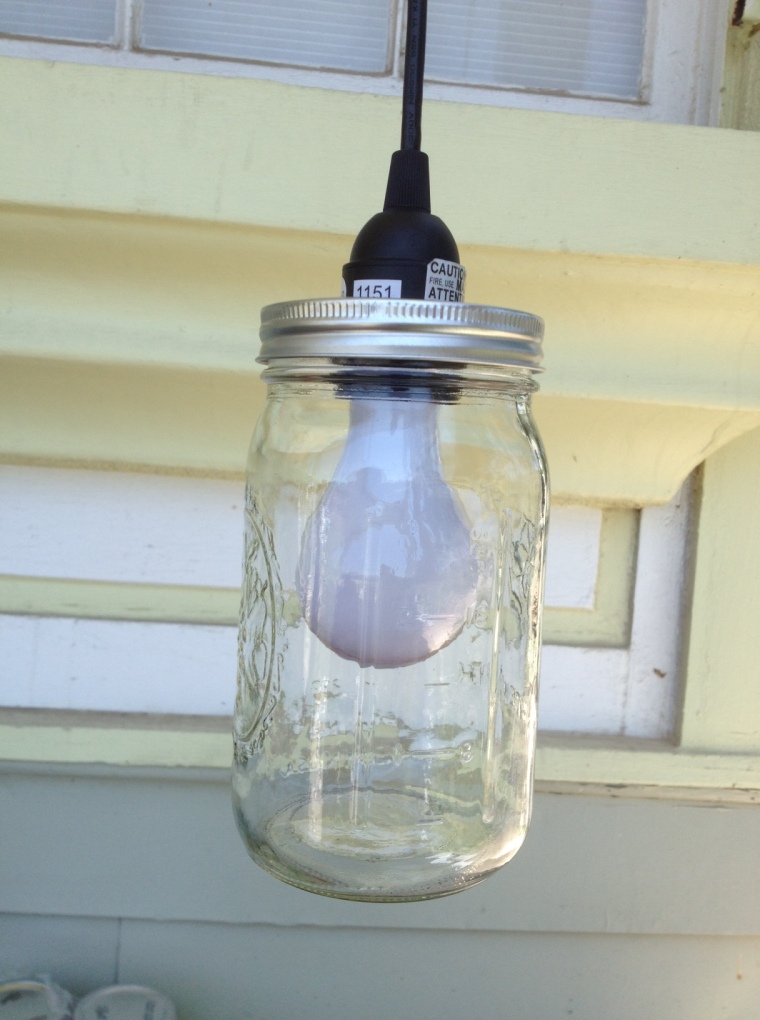
Just screw on your jar, and you’re done!
Where to use
Mason jar lights are easy, beautiful transformations for existing hanging lights or light fixtures in your home. You can easily replace a fixture with a mason jar using the method above; almost every light fixture fastens to a socket with a socket ring.
You can also use mason jar lighting outdoors – they’re great for strand lighting, stuffing small Christmas lights into, or using with candles on flat surfaces!

No comments:
Post a Comment